Thursday, December 26, 2013

Earl Grey Shortbread Cookies

Hello everybody~ Merry christmas! Here's another recipe made from tea! I love this recipe because I LOVE EARL GREY TEA. Okay, I think any food that has earl grey tea in it, I love it. That's it. When I came across this recipe online, I knew I had to bake it.


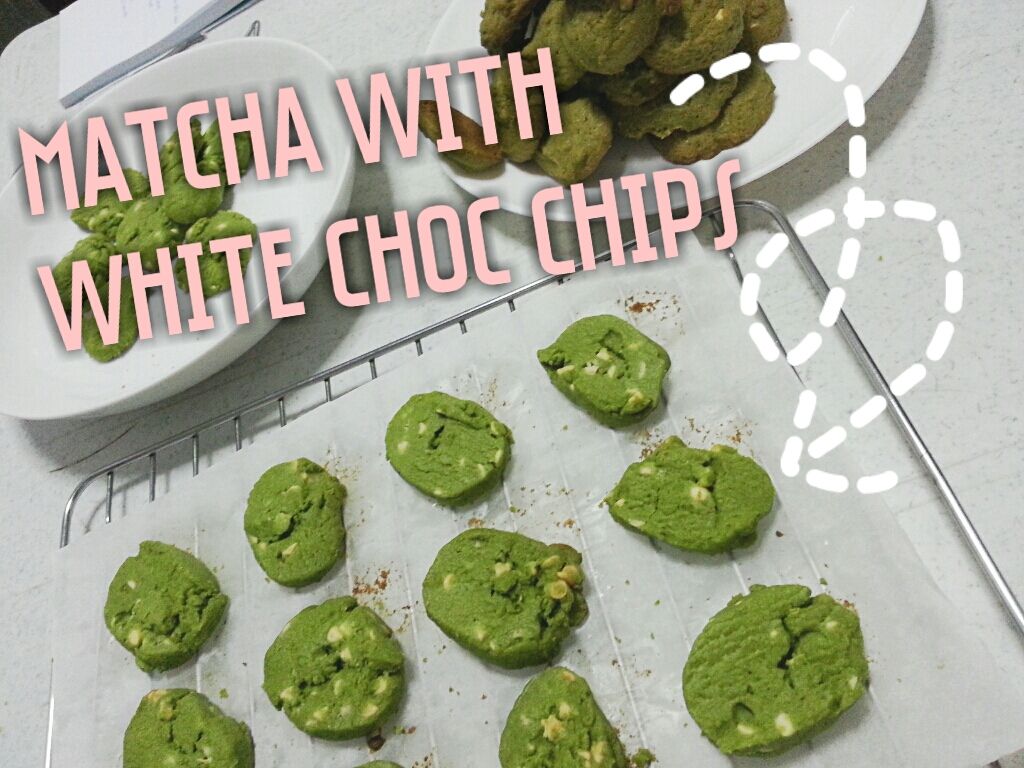
Recipe adapted from Lydia bakes
(Another reason that made me bake it is because of the gorgeous photos of it on Lydia's site. Hop over to see them!)

Ingredients:

1 1/2 cup Flour
1/3 cup Caster Sugar, plus more for dusting
1/2 tsp Vanilla Paste
1 tbsp Earl Grey Tea Leaves
1 tbsp Finely grated orange zest
150g Unsalted Butter, room temperature

Method
1. Preheat oven to 180 degrees C and line a baking tray with baking paper.

2. Sift flour into a bowl and add sugar, vanilla paste, Earl Grey leaves and orange zest and mix in together.

3. Grate the butter into the flour mixture then mix with your hands until mixture resembles large crumbs.

4. Press the mixture together firmly on top of a sheet of baking paper on your bench or work surface.

5. Place another piece of baking paper on top and roll out mixture to about 1 cm thick. (I would suggest that you chill it for awhile so that it will be easier to cut when it is firm)

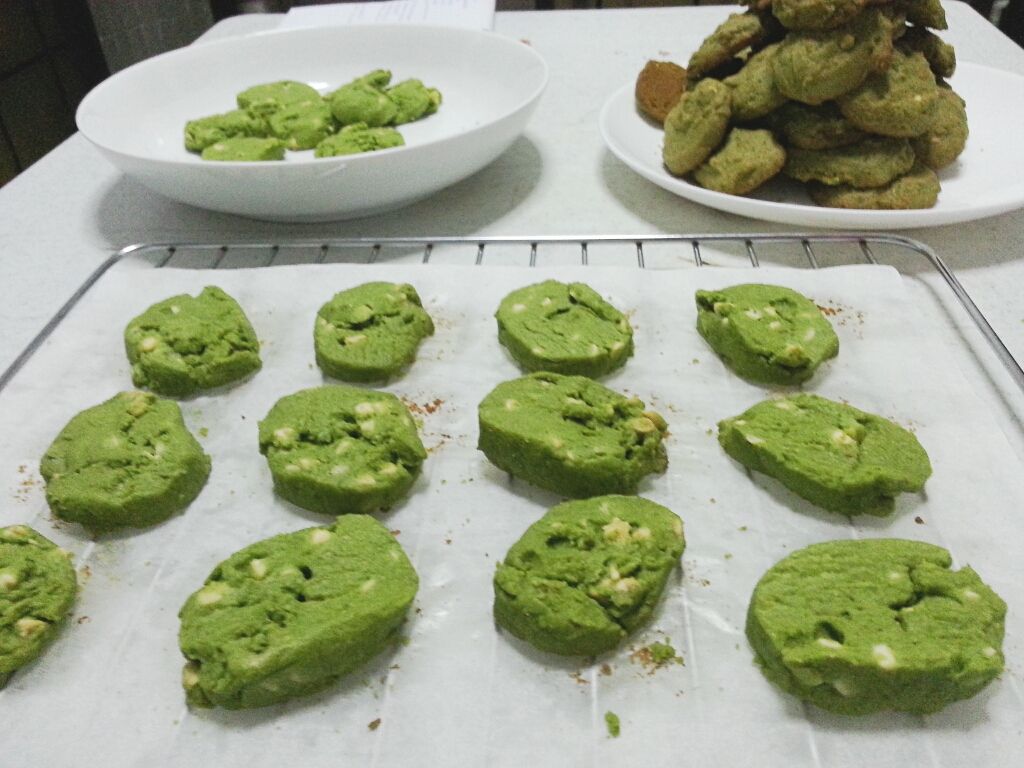
6. Cut into even sized pieces and carefully place on the baking tray.

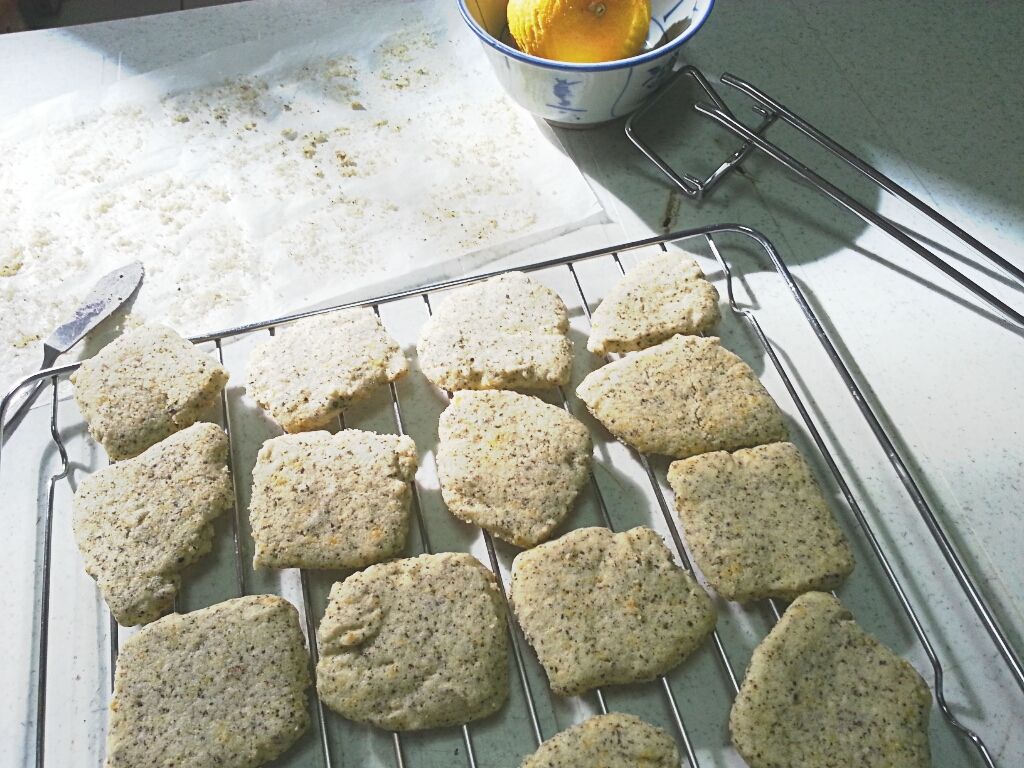
7. Bake for 10-15 minutes or until slightly golden.


Once cookies are baked, remove from the oven and immediately sprinkle extra caster sugar on top.
Leave cookies to cool on the tray for 5 minutes before placing on a cooling rack to cool completely.

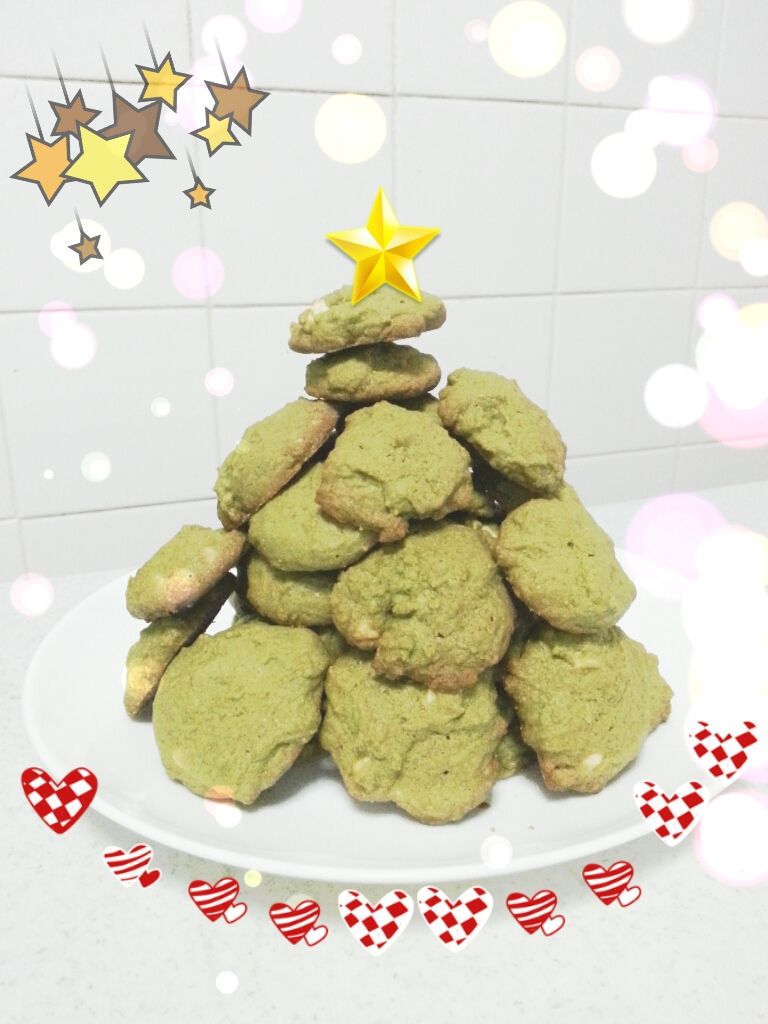
On Lydia's blog she drizzled the cookies with orange glaze, but in my case I omitted it because I do not want it to be too sweet. Perhaps next time I will try it out with the glaze. It makes the cookies look to enticing! :)

Before I even considered it into my CNY baking list, my mum already instructed me to bake these for Chinese New Year. Alright! Earl grey babies, we'll meet again soon! A month more to Chinese New Year!

Good luck in baking! :)

Friday, December 20, 2013

Matcha white chocolate chips cookies (version 2)


Hello people, here's the second recipe which I tried in my quest to search for the best matcha cookie. In my opinion, I prefer this version to version 1 (click here) because this has a stronger matcha taste. Anyway, both recipes make yummy cookies, it is really up to your own preference.

Recipe adapted from justonecookbook
(do visit justonecookbook for step-by-step pictures!)

Ingredients
240g all purpose flour
15g green tea powder (matcha)
150g unsalted butter, softened
130g powder sugar
Pinch of salt
2 large egg yolks
1/3 - 1/2 cup white chocolate chips

Method
1. Sift the flour and the matcha powder.

2. Cream together the butter, sugar, and salt until soft and light.

3. Add the egg yolks and beat well.

4. Gradually add the flour/matcha powder mixture.

5. Fold in the white chocolate chips.

6. Shape the dough into 2 round logs and wrap them in plastic wrap. Place your wrapped log on a bed of rice to chill to remain its cylindrical shape. Chill in refrigerator for several hours or, better yet, overnight.

Preheat oven to 150C degrees. Remove the dough from plastic wrap and cut the cookie slices to 7mm (1/4 inch) thick. It might be hard to cut due to chocolate chips, so be gentle!

Bake for 20-22 minutes then cool on a rack.


I think this is one of the most photogenic cookies that I have ever baked. Brightly green in colour, surely make a good christmas cookie as well!

I love to stack them up as high as possible! It's so fun!

These cookies serve as great gifts as well! Pack them nicely in a box and they could be the best gift one ever receives this christmas. After all, nothing's better than a box of freshly baked cookies that are made with lots of love? I would definitely love to receive a box of these lovelies.

Not only christmas, I think these are great for chinese new year as well. Hence, I am thinking of baking these for CNY to treat my relatives. Hope they will love it as much as I did.

What about you?

Try it! Good luck! :)

Thursday, December 19, 2013

Matcha white chocolate chip cookies (version 1)


Jingle bells, jingle bells, jingle all the way~

HOHOHO, MERRY CHRISTMAS!

Hello everyone, I am definitely getting into the christmas mood nowadays. I really can't wait for christmas! Eager to meet all my friends, and have parties with gift exchanges!

For the festive season, I'm getting into the cookie baking frenzy! Nope, not baking the conventional christmas cut out cookies with icing decorations, but specials ones like matcha flavour. In case you do not know, matcha is japanese green tea. I love the fragrance of it. (yes, currently obsessed over matcha flavoured food as well :P) I experimented with 2 different recipes that gave me 2 completely different result. In the post I will be posting version 1, which is more like the normal kind of white chocolate chip cookie with subtle matcha flavour. Version 2 (click here)is more crunchy and has a more intense matcha flavour. I gave them to a few friends to taste, but the conclusion was both versions are nice! Depends on your own preference though.

Recipe adapted from hilarymakes.com
Ingredients
2 1/4 cups all purpose flour
1/2 tsp baking soda
1 tsp salt
2 tbsp matcha powder
1 cup unsalted butter, at room temperature
1/2 cup white sugar
1 cup packed brown sugar
1 tsp pure vanilla extract
2 large eggs
6 oz good quality white chocolate chips

Method
1. Preheat the oven to 180°C.

2. In a small bowl, whisk together the flour, matcha powder, baking soda and salt

3. In another larger bowl, mix together the butter with both sugars, until light and fluffy. Add the vanilla and eggs. Beat until well mixed.
Add the flour mixture and mix until just combined.

4. Fold in the white chocolate chunks.

5. Drop heaping tablespoons of the dough on a non-stick baking sheet, or a pan lined with parchment paper. Bake until cookies are golden around the edges, but still soft in the centre.

Makes 3 dozen


Pardon me for the lack of skills which resulted in the cookies turning out kind of ugly ): BUT, taste-wise it was really good, no joke! I stacked up my cookies into a pyramid and with my awesome photo editing skills I made a christmas tree out of it. HAHAHA. Looks decent right??

Try it yourself!

Good luck! :)

Thursday, December 12, 2013

Healthy banana bread - (Oil-free, sugar-free, dairy-free, egg-free)


The festive season is coming! Are you excited about it? Think about all the gatherings with family and friends, and most importantly, the part which I love the most is FEASTING. Yumz. Can't wait to indulge in all kinds of food especially when now it's school holidays, which makes it a legit reason (in my opinion) to celebrate it with good food!!! *drools*

Alright, since we are most probably going to feast and gobble down all the fattening food and then if you have some self-conscious like me you will feel super guilty while eating, thinking to yourself that it's okay, after eating all these food I will exercise tomorrow. And the next thing you know is, TOMORROW NEVER COMES. There goes, all the fats will be stuck in your body. Congratulations, not.

I am not saying that we can't feast during this festive season, but instead we should eat in moderately. Of course, there will be meals that you really need to feast like a pig ('cos you can't resist all the awesome food) but there will definitely be some times whereby you should eat lesser, and HEALTHIER.

This healthy banana bread is a good option to start off a healthier diet!

Recipe adapted from herfelicity

Ingredients:
3 large sized ripe bananas
1.5 cups all purpose flour
1.5 tsp baking powder
0.5 tsp baking soda
1 tsp cinnamon powder

Method:
1. Preheat oven to 180 degree C.
2. Mash and blend the bananas.
3. Sift together the flour, baking soda and baking powder before folding into blended banana mixture.
4. Pour the batter into a lined tin.
5. Bake at 180 degree C for 30-40 minutes or till a skewer comes out clean.

For nut lovers, you can add in chopped walnuts! :) I did and the result was lovely!


AND VIOLA~ Out of the oven comes your healthy banana bread. I love how light the bread is, and super adore it for the fact that it is oil free.