Saturday, January 26, 2013

Best Pineapple Tarts

[UPDATED}


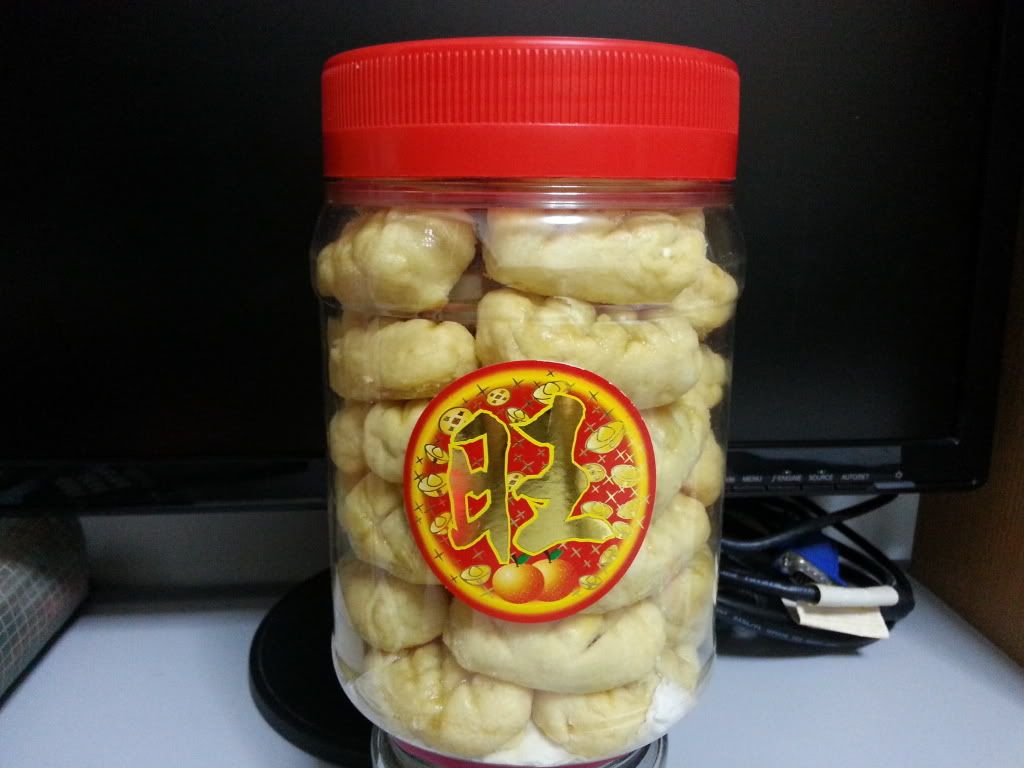
DA JIA HAO! (Hello everyone!) Chinese New Year is around the corner again~ Speaking about Chinese New Year, which part of it do you look forward to most? Is it buying new clothes, receiving red packets (definitely not giving out right?), gatherings with friends and relatives or... THE FOOD PART?? Personally, I definitely love buying new clothes for chinese new year as this is the only time that is justified for me to buy new clothes without getting nagged by parents for splurging money. However, I truly adore the food part as well! Whenever it comes to CNY there would be a table set up in my living room to store all the CNY goodies. Yes, that is the most sinful table ever. Filled with goodies like nuts, chocolates, bakgua and my absolute favourite... PINEAPPLE TARTS! I love pineapple tarts!!!!!! I love those with crust that melts in your mouth. That kind of feeling is truly bliss~

The are many types of pineapple tarts, but my favourite are those that pineapple filling are wrapped in the pastry. Pineapple tarts can be found easily in the supermarkets, bakeries and many other stores. However, I find many of them not up to my standard. Some are too sweet, some just lack the buttery taste and some simply awful. Hence, last year while I was free I went to research on pineapple tart recipes and lucky me found an awesome one. Baked according to the recipes and the outcome was a great success! :) Hence today I would like to share with all of you this wonderful recipe that gives you the best melt-in-your-mouth pineapple tarts. *thumbs up*


Recipe adopted from littleteochew
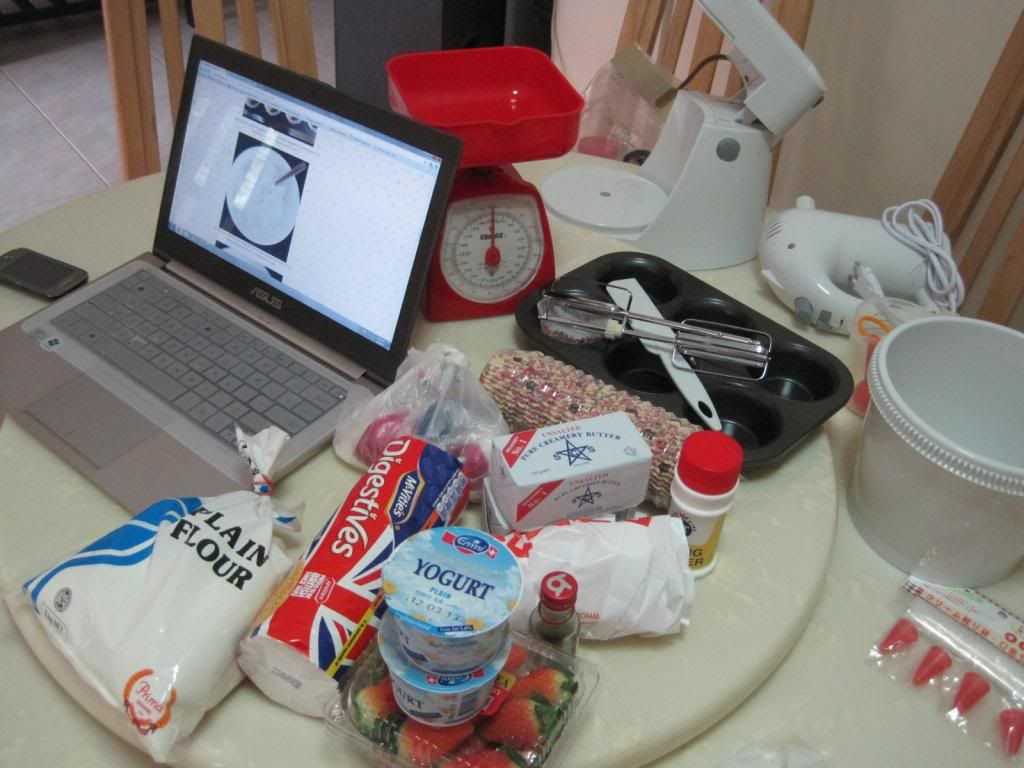
Ingredients:
400g plain flour
50g corn flour
1/4 (heaped) tsp salt
280g cold, unsalted butter
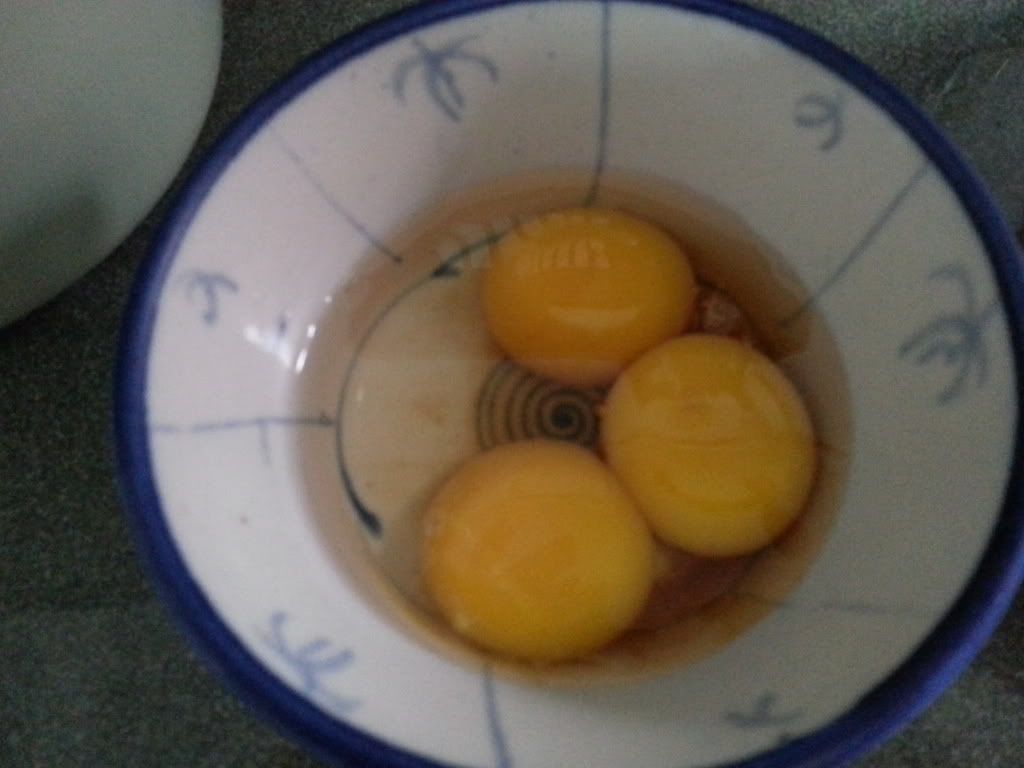
3 egg yolks, beaten
3 tsp cold/iced water
6 tsp icing sugar
1/2 tsp vanilla extract
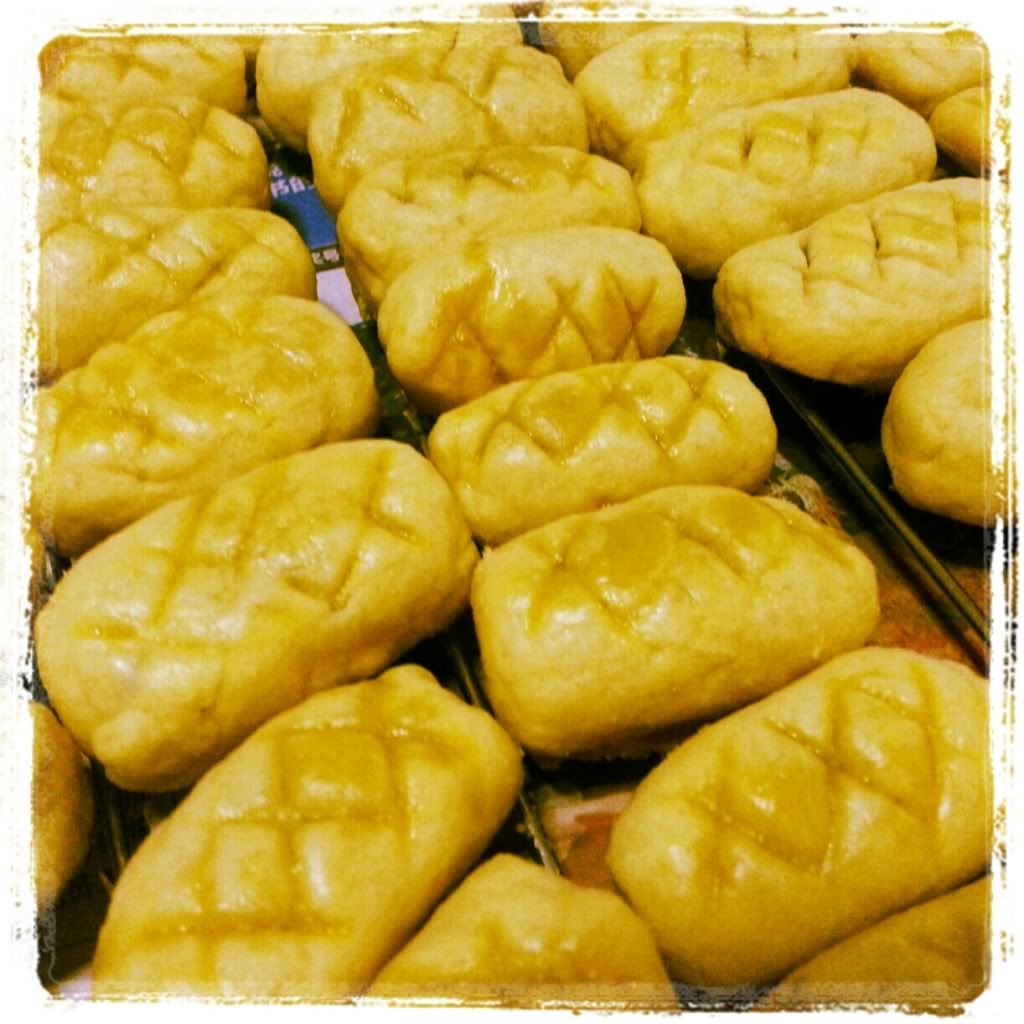
1 egg yolk + 1 tbsp water (for glazing)

Instructions:
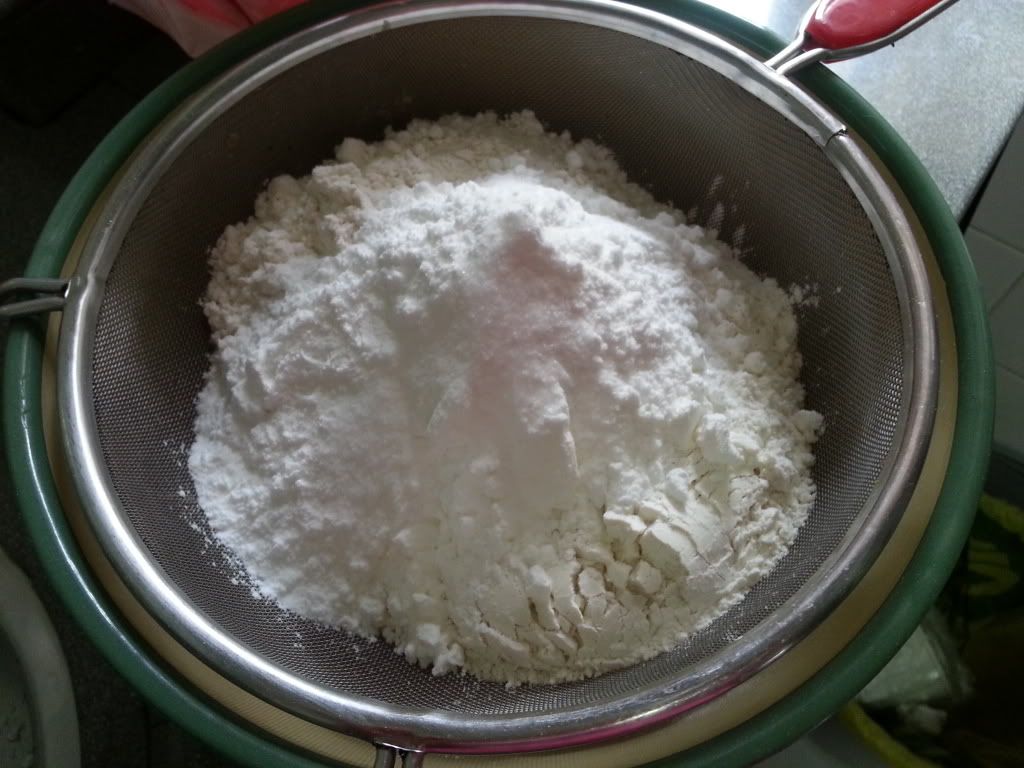
1. Sift flour, icing sugar and salt. Mix well to combine.

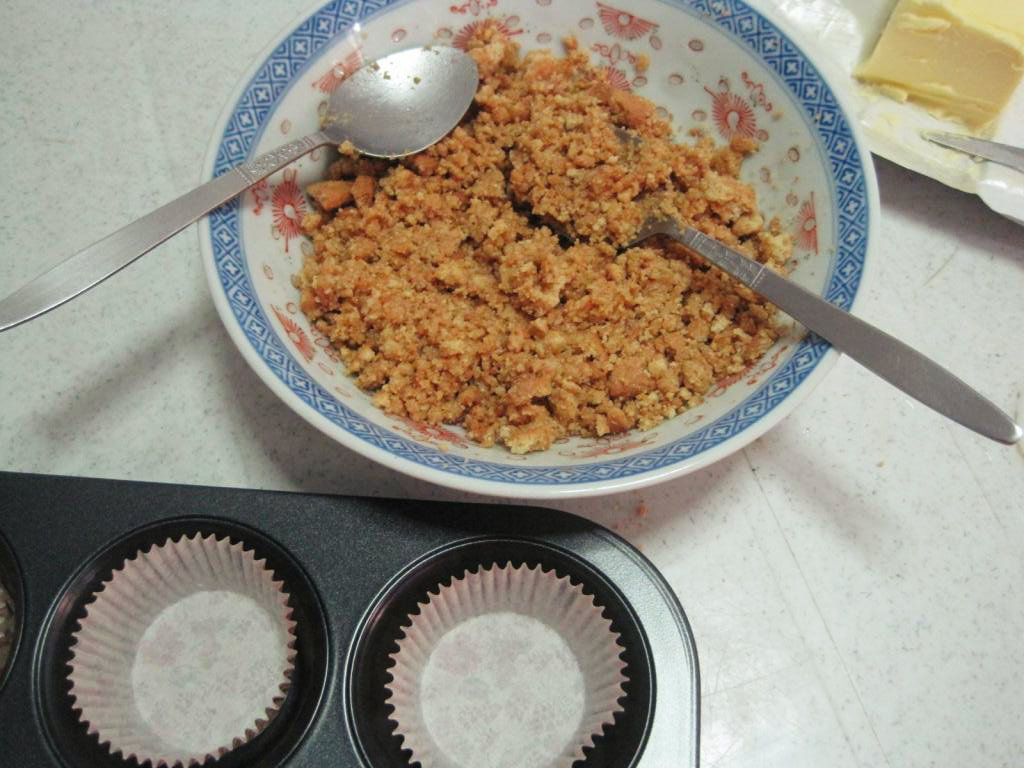
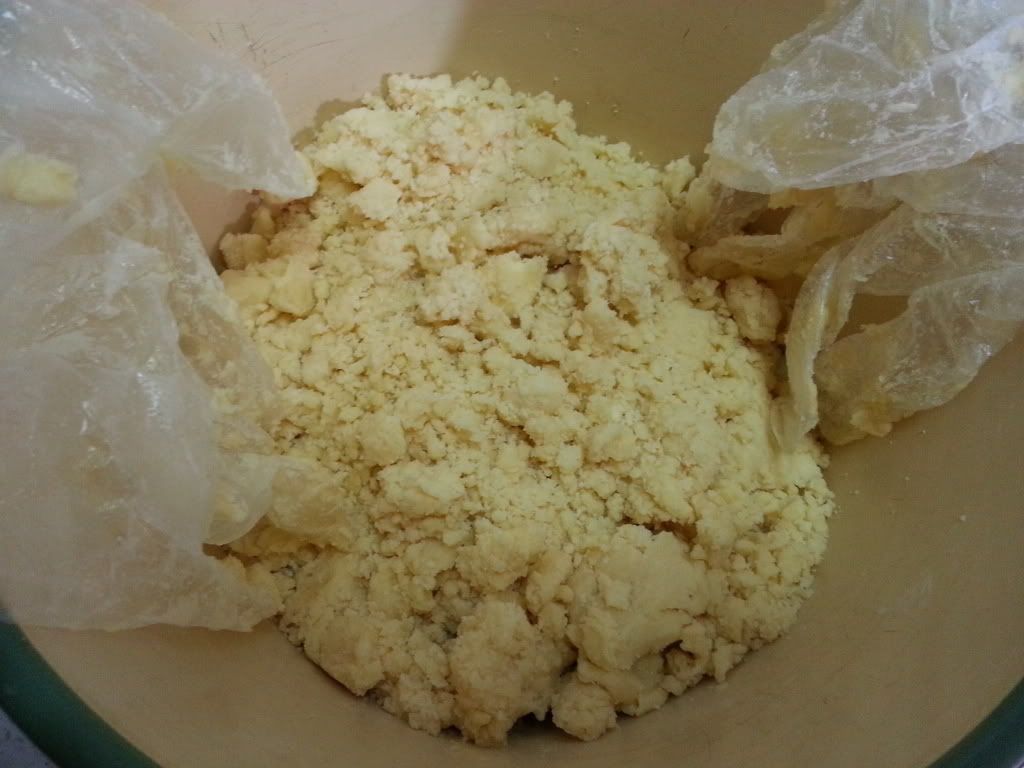
2. Using the tip of fork, rub butter into flour until it looks like fine bread crumbs If necessary, use fingertips to continue to rub lightly the bigger pieces into finer pieces.

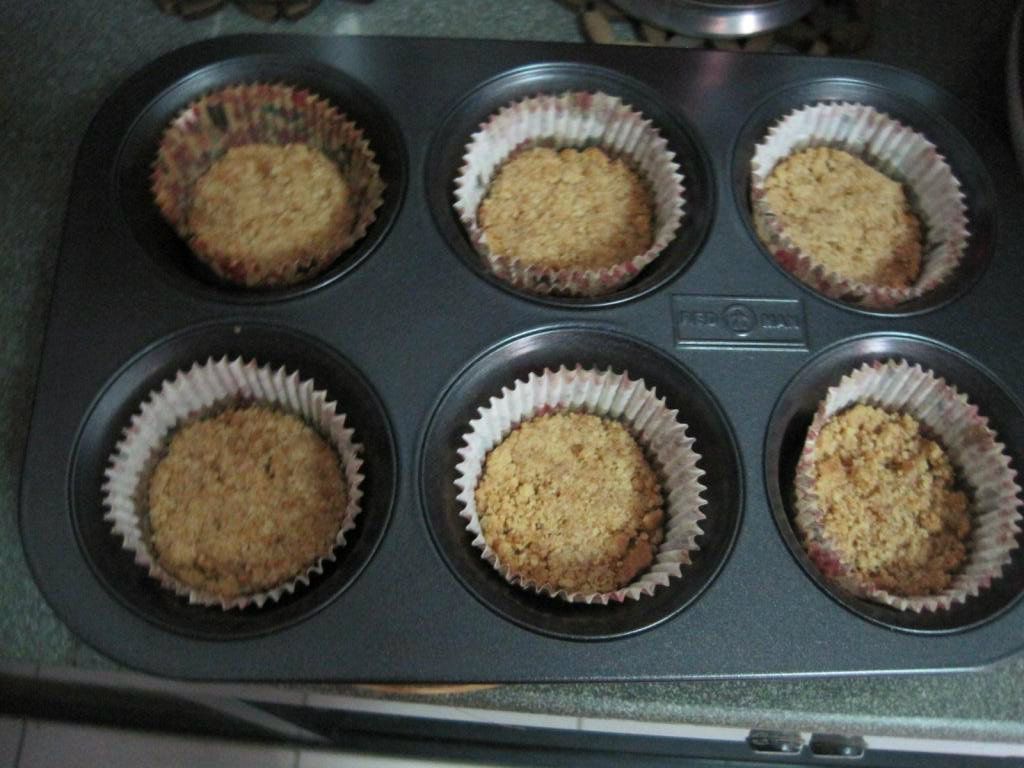
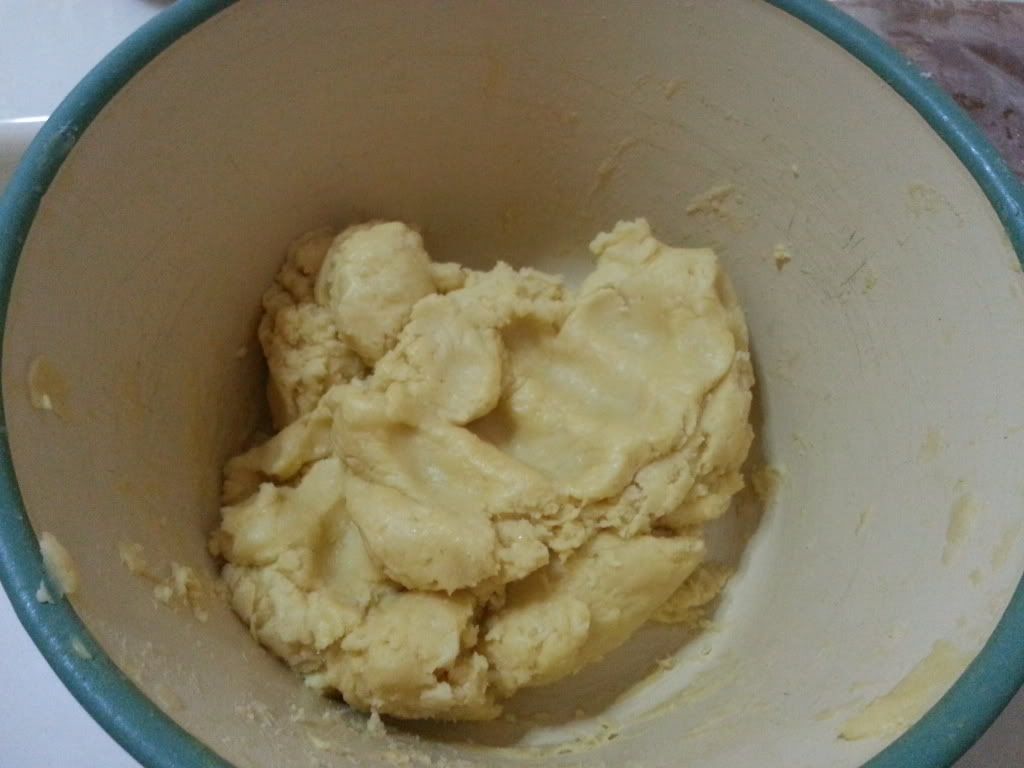
3. Beat together egg yolks, cold water and vanilla extract. Add it int the butter flour mixture. Using fingertips, gently coax all the crumbs into one large dough ball. Do no knead. As long as all the crumbs come together, stop. Chill in the fridge for about 10 minutes, covered.
4. Use dough as desired. Glaze.
5. Bake at 160 deg cel for 20 minutes.


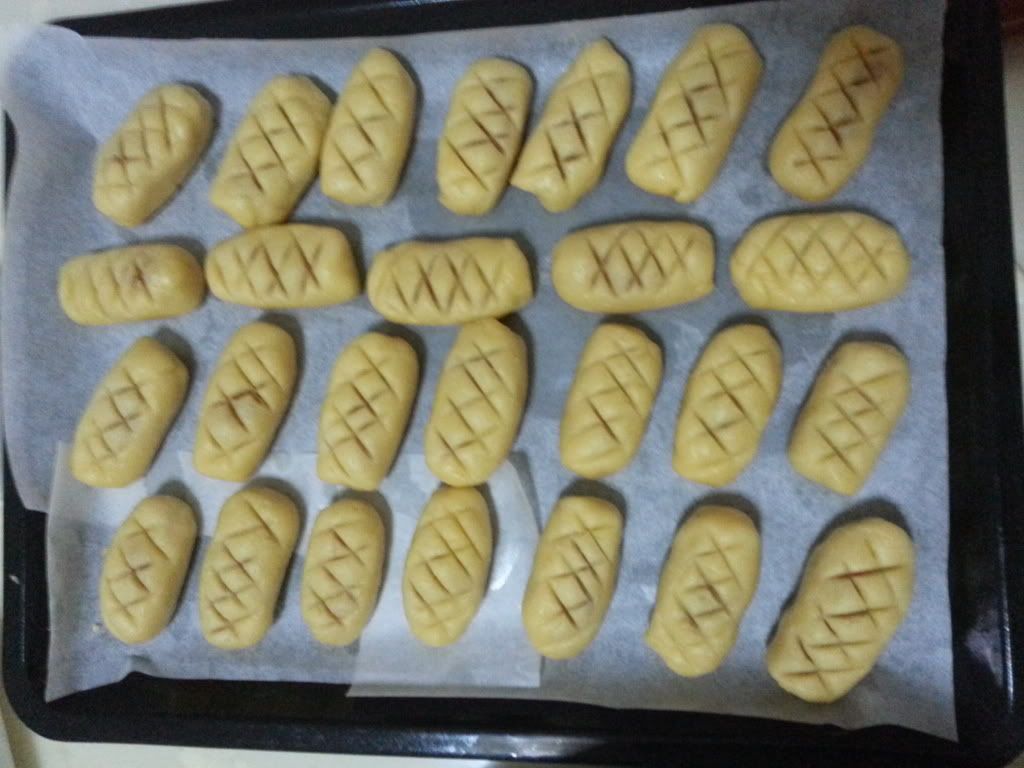
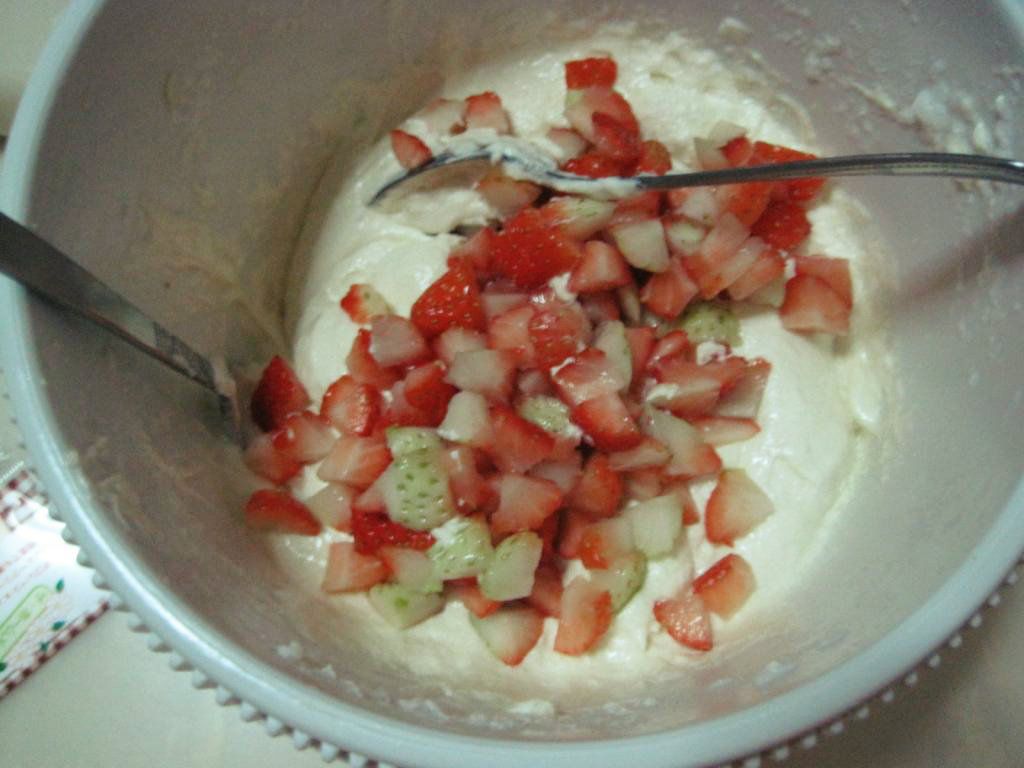
I'm sorry you might need to go somewhere else to look for the pineapple jam recipe if you are determined to make it yourself. I bought the ready made pineapple filling as I do not have the time nor courage to make my own. ): Would probably try doing that only when I am super free.

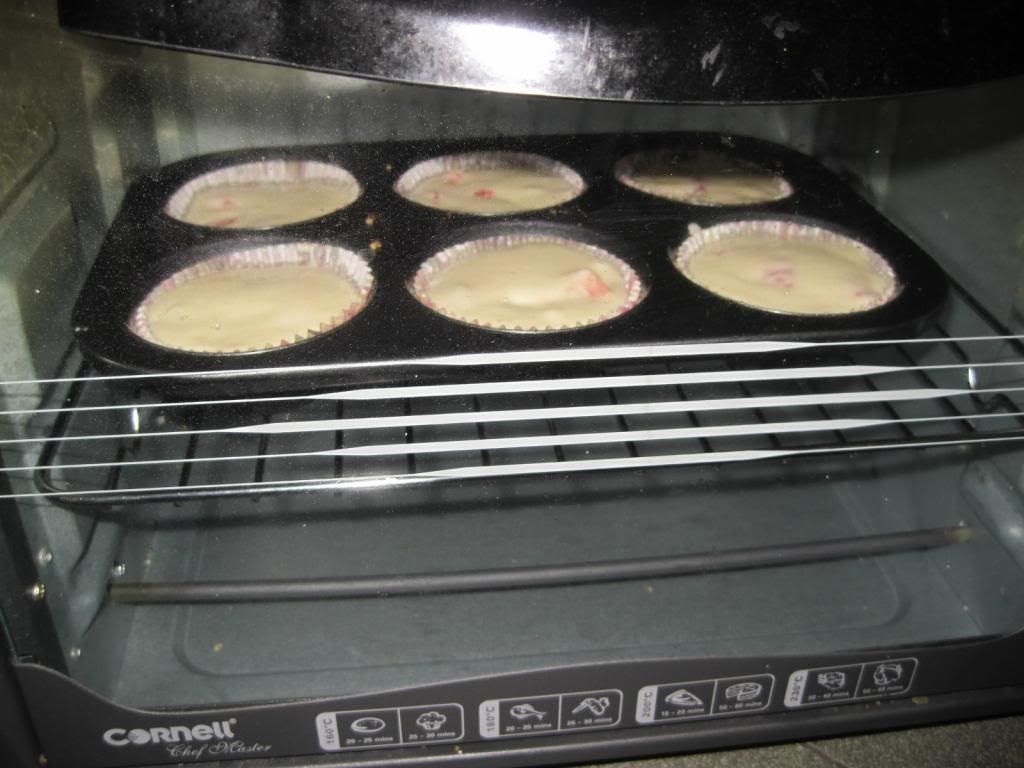
Trust my words, bake this recipe and make all your relatives and friends love you more (and probably get more angpows? :D)

Here are some photos of what I baked last year. Sorry my lousy old phone camera doesn't do any justice to the yumminess of the pineapple tarts.


Tuesday, January 8, 2013

Rainbow cake


Who could resist a rainbow cake? I love colourful things, so I super adore my rainbow cake!! This is the first time I baked something so pretty looking, and I just cannot stop praising how beautiful it is. I really really love my rainbow cake! Totally didn't expect it to turn how so perfectly looking. However, of course the cake isn't totally perfect. This is the sweetest cake that I have ever baked. And if you noticed, I have low tolerance for sweetness. Thus, this cake is just not good for my taste buds.

Recipe adapted and modified from ladyironchef
Originated from whisk kid

Instead of using the Lemony Swiss Meringue Butter-cream from original recipe, I used vanilla buttercream recipe from mysweetandsaucy instead.

CAUTION:THIS CAKE IS VERY SWEET SO PLEASE REDUCE THE AMOUNT OF SUGAR IN BOTH CAKE & CREAM.

White Cake
226g unsalted butter, at room temperature
2 1/3cups (426g) granulated sugar
5 large egg whites, at room temperature
2 teaspoons vanilla extract
3 cups (426g) all purpose flour
4 teaspoons baking powder
1/2 teaspoon salt
1 1/2 cups milk at room temperature
Red, orange, yellow, green, blue and purple gel paste colouring

Vanilla Buttercream
340g unsalted butter
7.5 cups icing sugar
1.5 teaspoon salt
4 tablespoons whole milk
3 teaspoons pure vanilla extract
3 teaspoon fresh lemon juice

for cake:
1. Preheat oven at 175 deg cel. Butter and line as many 9" round pans as possible.
2. In a large bowl, sift flour, baking powder and sat. Set aside.
3. Cream butter and sugar on high speed using mixer until fluffy. Switch to medium-low speed and add in vanilla extract and egg whites slowly. Mix until fully incorporated. Change speed to low, using wet-dry ingredient method, add in 1/3 milk 1/3 flour. Keep alternating, ending with flour mixture. Mix well.
4. Divide the batter into 6 portions. (Can be divided equally by weighing) then add in gel colourings into each portion. Pour one portion into one pan and bake each for about 15min.

for buttercream:
1. Cream butter and salt for 30secs.
2. Add milk and half icing sugar and beat until combined.
3. Add rest of the icing sugar, vanilla extract and lemon juice and beat.
4. Beat on high speed for 5-6min or until fluffy.

tips/notes
As mentioned, this recipe yields a very sweet cake (See flour-sugar ratio-1vs1!!) Hence I would definitely suggest that you reduce sugar amount. For cake I reduced to about 320g of sugar while for buttercream I only used 3 cups of icing sugar and yet I still produced a super sweet cake. But again, it's according to your own liking and preference.If you have a sweet tooth, go ahead!

You would need to use GEL colourings instead of liquids ones to obtain a vibrant result. Liquid colourings would probably give your pastel coloured rainbow instead. Also, you may buy the primary colours only (red, yellow, blue) and mix them to get orange (red+yellow) and purple/violet (red+blue). I bought wilton's gel colouring that comes in a pack of 4 colours (red,orange,yellow,blue)and I had to mix the colours to get green and purple. It turned out quite well right?

This cake is actually quite plain in terms of taste (definitely not in terms of the look) hence I would suggest that you add in some decorating, like how I used biscuit crumbs for the coating. Definitely makes the cake more yummy!

I baked this cake for my friend's birthday. I love everyone's reaction when the cake was cut and the magic was revealed-RAINBOW! Everyone started to get really excited and many were busy snapping photos of this gorgeous cake.


I have awed all my friends, and now it's your turn to impress people with this magical rainbow cake!

Good luck! :D

Friday, January 4, 2013

Strawberry cheesecake cupcakes

Finally back to updating this blog after such a long hiatus! This afternoon I finally got the lazy me to start baking again. Maiden attempt to bake cupcakes and they were a success, lookwise.

Came across the recipe on yankaykay's blog, was so attracted to it, it looks soooo delicious. As usual I went on to search for other versions of this recipe and I found the original recipe at joylicious. Upon reading the first sentence of the post I was totally sold and I knew that I have to try out this recipe. It goes: I always tell girlfriends who can't cook -- "Ladies, there's only 3 recipes you'll ever have to learn to win over any man's heart: the perfectly seared steak, killer mashed potatoes and these Strawberry Cheesecake Cupcakes."

I modified the recipe quite a bit, maybe that is the reason why mine didn't turn out really delicious (but still yummy!). This recipe yields 18 cupcakes for me.


What I need!!
Recipe (crust, batter & cream cheese)

for crust:
15 digestive crackers, crumbed (I only used 8!!)
125g (or less) butter
3 tbsp sugar (I omitted this to cut down sugar)

1. Preheat oven to 170 degree Celsius.
2. Crush up the digestive crackers and mix in sugar and butter until it holds together when pressed down.
3. Spoon about 1 tablespoon of it into cupcake liner and press down with finger/spoon.
4. Bake for 3-5 minutes.


For batter:
4 egg whites and 2 tbs of sugar
1 tsp baking powder
0.5 tsp of salt
1.5 cups all-purpose flour
1 cup sugar
1 tsp vanilla extract
0.5 cup sour cream/plain yogurt
2 cups fresh strawberries, hulled and diced

1. Beat egg whites and 2tbs of sugar until stiff, glossy peaks appear. Be careful not to overbeat. Set aside.
2. Mix flour, baking powder and salt. Set aside.
3. Cream butter and sugar until soft and fluffy, add in vanilla extract and beat on low speed. Then add half the flour mixture until incorporated then mix in the sour cream or yogurt. Add remaining flour & mix until just blended.
4. Gently fold 1/3 of the egg into the batter until combined, do not over mix the egg whites or the cake will fall flat. Add remaining egg and fold in the chopped strawberries.
5. Fill each muffin tin about 3/4 of the way and bake for about 20-25 minutes depending on your oven.


For cheese cream:
250g cream cheese
125g of butter
300g (or less) of icing sugar
1 tsp vanilla extract

1. In a large mixing bowl, beat the cream cheese, butter and vanilla together until smooth. Add the sugar slowly in small batches, beating on low speed until incorporated. Once all sugar has been added, increase the speed to high and mix until light and fluffy. Refrigerate for 1 hour.

I omitted the cream cheese because after baking the cake I was very exhausted. Furthermore my family doesn't have much liking for cream stuffs, hence... Hahaha, coming up with too many excuses for my laziness :P